
Happy New Year to all the readers. 2022 was a handful, but there were a lot of things to celebrate. I completed my first full year as an employee of Magnet Forensics. Between the people I work with, and the satisfaction of the mission, I couldn’t be happier with where I’m at.
The first blog post of the year, QuickPcap – Capturing a PCAP with PowerShell, wound up being the most popular post of the year and a repeat traffic driver. Adding SIFT and REMnux to your Windows Forensics environment would have to concede to being #2 after a very long run.
In February the Lack Rack began,
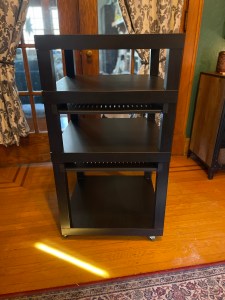
though it wouldn’t be til September that I called an end to the “one more thing” adjustments. It’s definitely one of my favorite DIY projects to date.

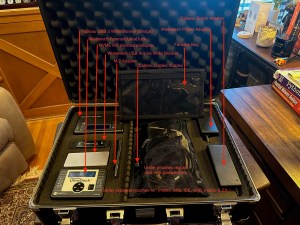
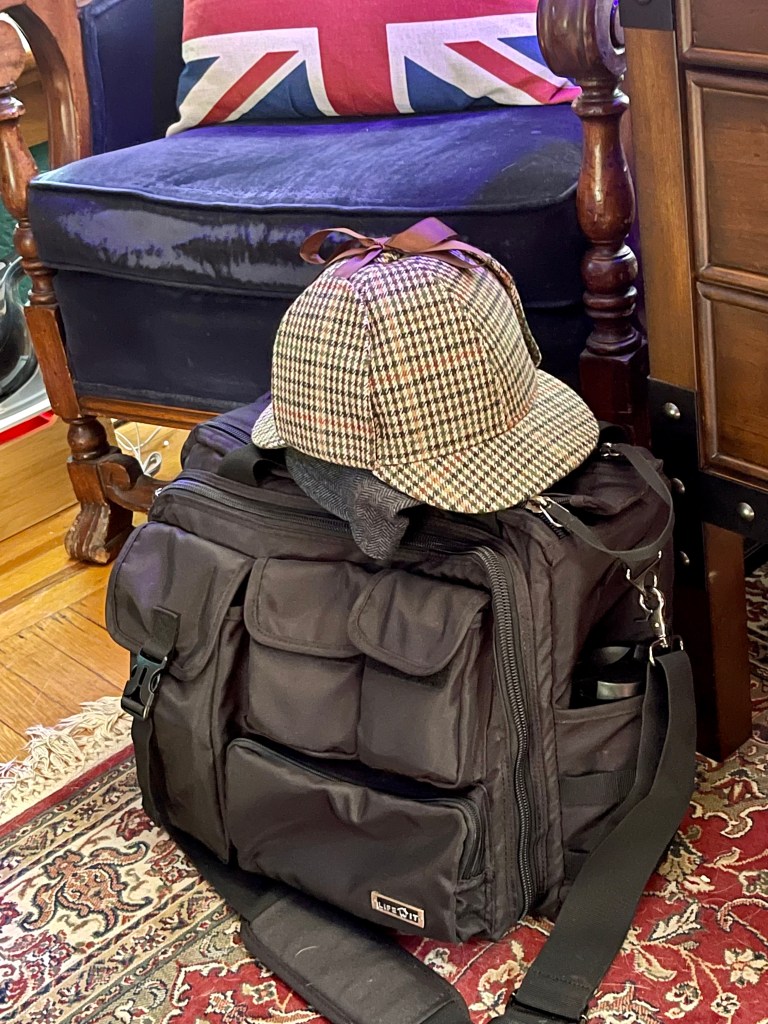
There were lots of little successes as well, like finally cleaning up and re-organizing my ‘go-bag.’
As my focus has been more concentrated on malware investigation and analysis – that meant that in no time there’d be something I could automate with PowerShell, and so came Mal-Hash. A few months after the initial release, I was able to update it. Included in the refinements was the ability to now run the script on Windows, Mac, and Linux (via PowerShell).
I also went back to all my O365 related PowerShell Scripts and updated them all to support the latest modern auth / MFA protocols from Microsoft.
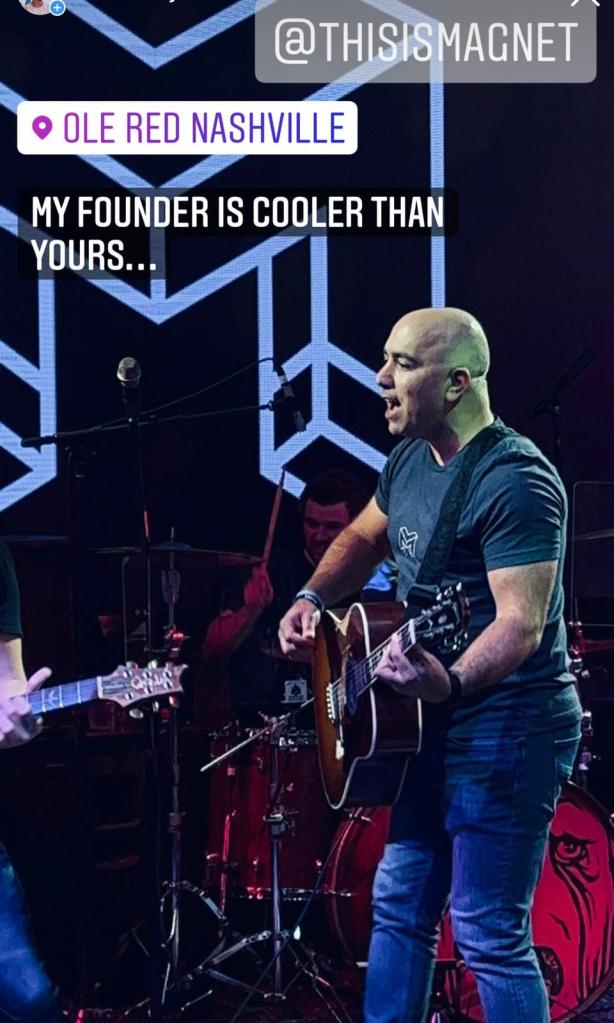
After several years of Covid isolation, I was back to attending and presenting at conferences. This year I was able to participate in the Magnet User Summit
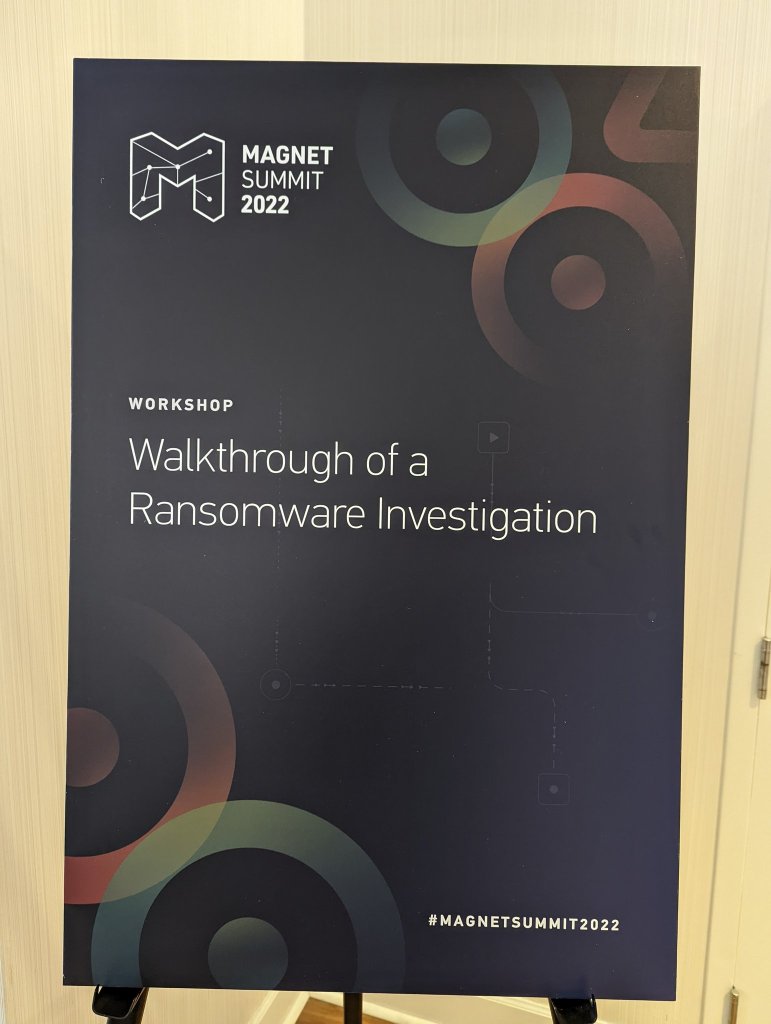
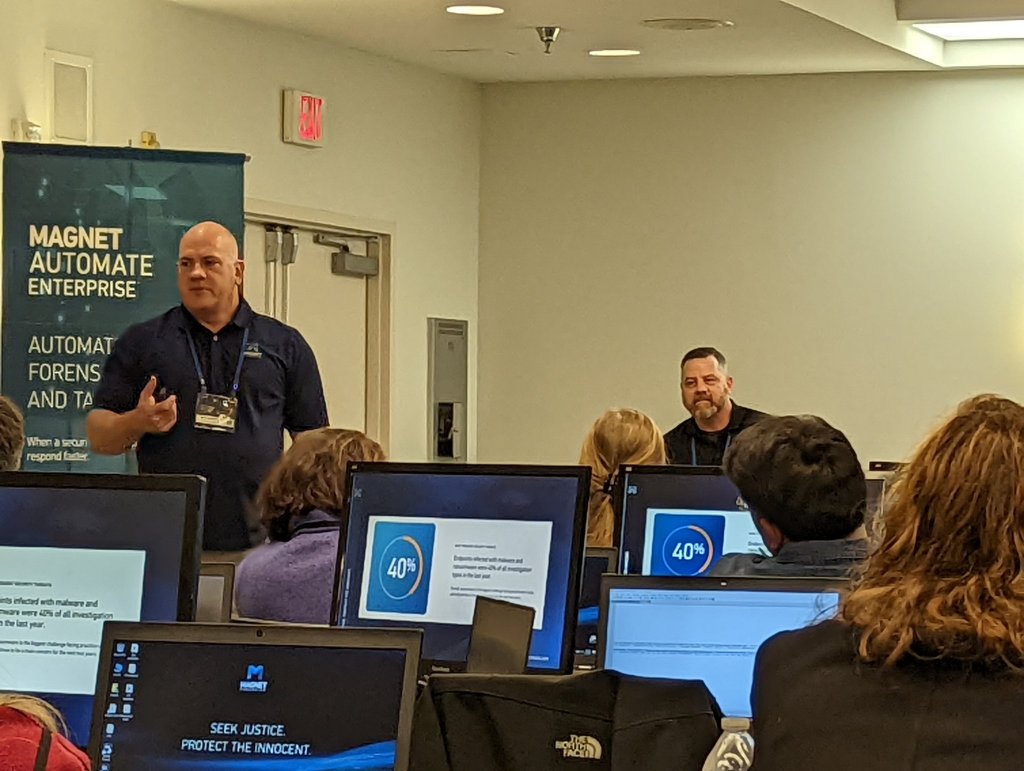

and the Magnet Virtual Summit, which included my presentation on Free Tools for Triage Collections. CSIRT-Collect got a number of feature updates as a result.
Other events included Techno Security and the HTCIA Conference, as well as presenting as part of the HTCIA Tech Tuesday series.
Last but not least, one of the biggest milestones was passing 10k views on this wee ‘lil blog, including a day that had over 1k all on its own. Thank you to everyone who continues to return here and interact from all over the world. Cheers!
Thank you for your continued support of Baker Street Forensics. Is there something you’d like to see more of? Leave a comment and let me know.


