Windows Subsystem for Linux (WSL) adds a lot of capability and convenience for running DFIR applications on a Windows host. Previously I wrote about how to add a SIFT/REMnux Ubuntu distribution to WSL.
Another tip I’d like to share with you is setting up separate profiles for frequently used applications.
Volatility is one of the applications I’m in frequently, whether for work or lab(work). Sure, I can open a command window and then navigate to the appropriate application path; but why not make it a one-click option.
To begin, open Windows Terminal, and go to the Settings menu.
On the bottom left choose select ‘Add a new profile.’
PowerShell (Core) is my default shell environment. I’ll select this as the profile to duplicate.
After you hit ‘Duplicate’ you’ll be presented with a copy of the profile.
Update the Name and Starting directory to reflect the application path.
You can customize the Icon and Tab title. Under the Appearance tab you can assign a custom background for the WSL profile. Be sure to click Save when you’ve made your changes.
Now when I want to open a Volatility session, it’s right there on the drop down in WSL.
If you have WSL parked on the Taskbar, you can select the new profile (or any other profile) with a right-click.
If you want to have your WSL instances in separate windows, versus the default tabbed layout, right clicking from the taskbar will open the selected session in a new window.
CSIRT-Collect USB can be found in the main repository for CSIRT-Collect. CSIRT-Collect is a PowerShell script to collect memory and (triage) disk forensics for incident response investigations.
CSIRT-Collect USB is designed to run directly from a USB device. While a network deployment certainly supports automation, as an Incident Responder I can think of several examples where that wouldn’t be an option:
An air-gapped manufacturing environment
Hospital/Medical Environments
Ransomware incidents when the assets have been detached from the network
Preparation is the first phase of the Incident Response lifecycle. (PICERL) Once you’ve tested and/or adapted the collection for your environment, consider prepping a handful of drives and having them pre-deployed to sites where you’re likely to need them.
The Setup
First off you’re going to need a high-capacity USB device. Larger sized flash drives will work. Personally I’m a fan of Samsung (T series) SSD drives, both for their size and their write speeds during acquisitions.
On the root of the USB device:
A (initially empty) folder named ‘Collections’
KAPE directory from default KAPE installation
EDD.exe in \KAPE\Modules\bin\EDD (Encrypted Disk Detector)
CSIRT-Collect_USB.ps1
MRC.exe (Magnet RAM Capture)
Launch
To run the script, open an elevated PowerShell prompt and browse to the USB device. Then simply
.\CSIRT-Collect_USB.ps1
CSIRT-Collect_USB.ps1 starting
What it Captures
The first process the script runs is Magnet RAM Capture. Once the RAM has been captured, the windows build (profile) is captured. The RAM image and the build info are named to reflect the asset hostname being collected.
The next process is the KAPE Triage collection. Host artifacts are acquired and then assembled as a .vhdx (portable hard disk) image. After the KAPE Targets portion completes, KAPE calls the Encrypted Disk Detector module which checks the local physical drives on a system for TrueCrypt, PGP, VeraCrypt, SafeBoot, or Bitlocker encrypted volumes. This information is saved into the Collections directory, as well as displayed to the responder to identify other volumes that may need to be collected while the system is live.
Lastly, if BitLocker is enabled for the OS drive the script will capture that information as well and back-up the recovery key.
Disk Encryption Check
Collection Contents
Inside the Collections folder, a subfolder will be created for each asset collected. The size of the USB device will determine how many collections can be captured before the results need to be offloaded.
The \Collections\%hostname% directory will include:
Console log capturing all KAPE targets activity
.vhdx of the host artifacts
collection complete date/time .txt
Memory acquisition .raw
Windows profile (build information) .txt
In the \Collections\%hostname%\Decrypt folder you will find
console log for KAPE modules (EDD)
recovery key for BitLocker (C) volume .txt
Live Response directory with the output of EDD .txt
I’ve been using Visual Studio Code as my go to editor for PowerShell, JSON, plain text, and recently even a dash of Python. VS Code is very extensible and much like the App Stores we’ve come to know, there’s an extension marketplace to broaden its capabilites.
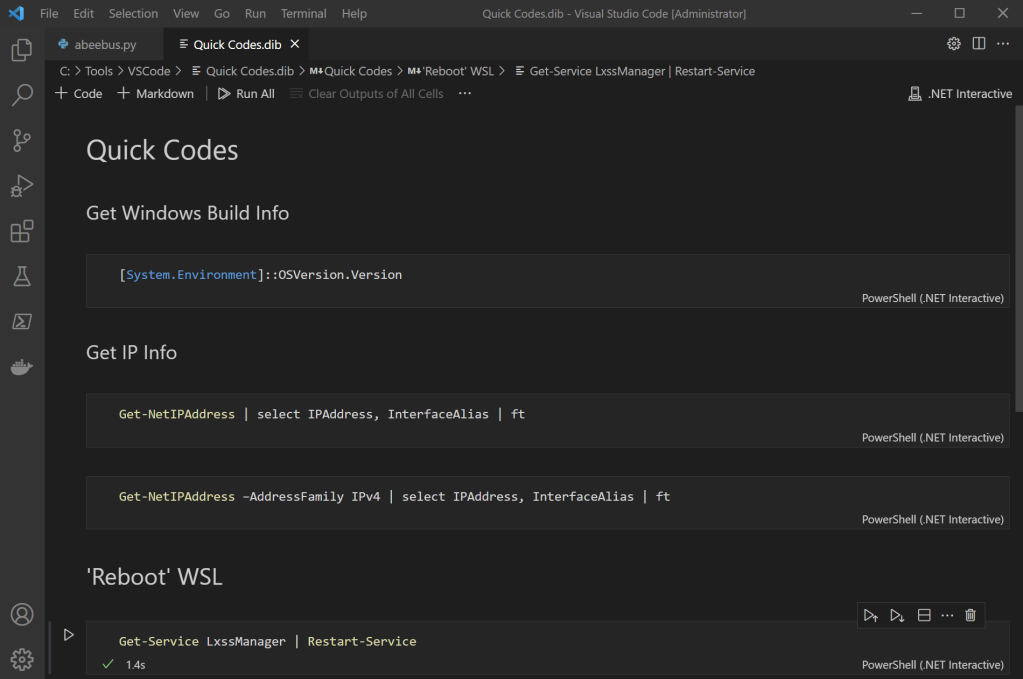
One of my favorite extensions is the .NET Interactive Notebooks. Notebooks combine markdown text and code snippets that you can run right within the notebook. This can be very useful for designing playbooks for a SOC or Junior Analyst to execute as you can describe and provide guidance on how to utilize the code functions.
An easy way to get started with Interactive Notebooks is to create a “Quick Codes” notebook. Title it as you choose. For this particular notebook, I’ve got a number of commands saved that I may reference semi-frequently, but due to limited space in my mind palace I wind up googling them anyway, even if it’s googling my own site.
Trying to remember a specific PowerShell syntax
Note before installing: As your scripts and notebooks develop, there is a likelihood that you will want to run some either as Administrator or using another user credential. One way to do so simply launch VS code (right click) as Admin, or use the Run As feature when you launch the application.
Download and install VS Code. Note – as you may be running this with multiple credentials, the “System” installer is recommended. https://code.visualstudio.com/Download#
When inside VS code, bring up the Extensions view by clicking on the Extensions icon in the Activity Bar on the side of VS Code, or the View: Extensions command (Ctrl+Shift+X). Search for “interactive” Select .NET Interactive Notebooks and choose install
Once everything is all set, relaunch VS Code.
Hit Ctrl+Shift+P and select .NET Interactive – Create New Blank Notebook.
That’s it. Now start adding blocks for text and code. You can use simple markup codes for Heading (#), Heading 2 (##), Heading 3 (###), etc.
To execute the code snippet, just click on the small ‘play’ arrow to the left.
Do you have any novel uses for Interactive Notebooks? If so, please share in the comments area.
I’ve worked remotely for the past 6 years which means I spend a lot of time in my home office. Last year we moved into a new house with much better space for my office, and I’ve been shaping it more and more to my tastes.
I do a lot of forensic imaging. I’ve got a pretty basic but rock solid setup that works for me (see Forensic Imaging a Microsoft Surface Pro). Since I use it frequently I’m hesitant to put it away, but at the same point I don’t like looking at a pile of wires and devices when not in use. That brings us to the latest home office update, the Forensic Imaging Station (Steampunk Edition).
For this project I grabbed a small wooden box from Hobby Lobby. A good cigar box will also work. That was going to be my first choice but the only spare box I had on hand said “Corona” on the face and… you know. This box looks nice but it’s composed of mostly particle board, so go slow drilling.
I drilled four holes in the box. A 1/2 inch hole on the front face under the locking clasp for the USB-C cable, and three 5/8 inch holes – 2 on the side and one on the back, to accommodate the rest.
Inside the box I’ve arranged a USB hub connecting:
Paladin flash drive
External WD hard drive
Keyboard (USB)
RF dongle for mouse.
Pass through for “universal” laptop power adapter
Cheap wood makes for messy holes.
This box had plenty of space to arrange the components. The laptop power adapter comes in the back of the box and then back out on the side. The USB connector for the hub is also passed through the side. The cable for the keyboard passes through the front.
The finished set-up
The setup is completed with an Azio Retro Compact keyboard, (with replacement copper-edged keys) and a sort of matching mouse.
When it’s time to image, just sit the laptop on top, connect the USB cable and power, and you’re good to go.
Post Update:
Because I’ve come to learn that a project is really ever finished at version 1 – a close up view after details added. (Rubber grommets for the cable holes and decorative details and rubber feet on the top for laptop.