I’m pleased to announce the release of CyberPipe v5.3, bringing critical compatibility improvements for Windows PowerShell 5.1 and enhanced reliability across all PowerShell environments.
The Problem
After releasing v5.2 with the new unified banner design, several users reported an interesting issue: CyberPipe would execute perfectly in PowerShell Core, but in Windows PowerShell 5.1, the script would complete the Magnet Response collection successfully—then immediately fail with an exit code error and stop before running EDD and BitLocker key recovery.
The collected artifacts were there. The output looked successful. But the script refused to continue.
The Root Cause
This turned out to be a known quirk in Windows PowerShell 5.1: the $process.ExitCode property isn’t always reliably populated after calling WaitForExit() on a process object. Even when Magnet Response completed successfully with exit code 0, PowerShell 5.1 would sometimes report a non-zero value, causing CyberPipe to think the collection had failed.
The Solution
Version 5.3 introduces dual validation logic that checks both the exit code and verifies that files were actually collected. If Magnet Response reports a non-zero exit code but artifacts were successfully collected, CyberPipe recognizes this as a PS 5.1 reporting issue and continues the workflow with a warning message.
The script now validates success based on what actually matters: did we collect the evidence?
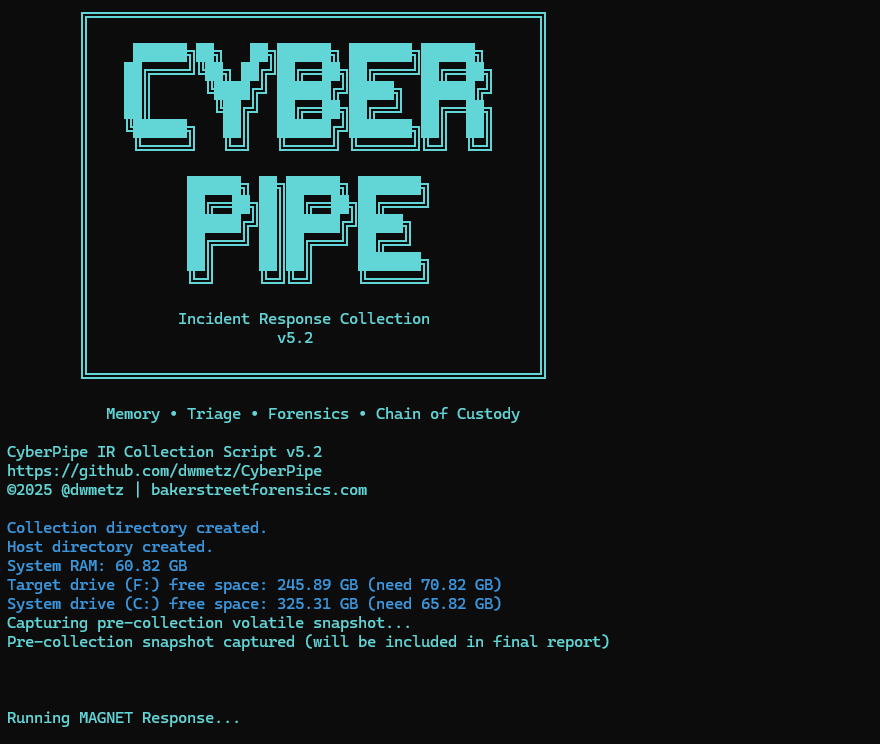
Bonus: Adaptive Banners
While fixing the PS 5.1 compatibility, I also enhanced the banner display:
- PowerShell Core: Displays the full Unicode box-drawing banner with visual flair
- Windows PowerShell 5.1: Shows a clean ASCII banner optimized for automation, EDR deployment, and environments where Unicode rendering may be inconsistent
The script automatically detects which PowerShell edition is running and adjusts accordingly.
Testing & Validation
CyberPipe v5.3 has been tested and verified on:
- ✅ Windows PowerShell 5.1
- ✅ PowerShell Core 7.x
- ✅ All collection profiles (Volatile, RAMOnly, RAMPage, RAMSystem, QuickTriage, Full)
The script now executes flawlessly in both environments with no workflow interruptions.
Compatibility Notes
This is a drop-in replacement for v5.2 with no breaking changes:
- All command-line parameters work identically
- Existing automation scripts require no modifications
- All collection profiles function as before
Why This Matters
For incident response work, reliability is non-negotiable. When you’re collecting evidence from a potentially compromised system, you need tools that work consistently across different Windows environments—corporate workstations running PS 5.1, modern systems with PS Core, virtual machines, and physical hardware.
CyberPipe v5.3 ensures that whether you’re running an interactive collection or deploying via EDR automation, the script executes reliably from start to finish.
Get CyberPipe v5.3
Download: CyberPipe v5.3 on GitHub
Documentation: GitHub Repository
As always, feedback and issue reports are welcome on the GitHub repository.
CyberPipe is a free, open-source incident response collection tool for Windows systems, automating memory capture, triage collection, encrypted disk detection, and BitLocker key recovery.